What To Expect From a Professional Drywall Repair Visit
A doorknob punches through a bedroom wall, or moving equipment leaves a hole in an office corridor. The damage is visible, but the work required to restore the surface isn’t always obvious. During a professional drywall repair visit, the technician assesses the area and completes the repair stages appropriate to its condition. Understanding those stages helps property owners plan around the appointment and know what the service includes.
Preparing the Room
Property owners should clear the area around the damaged wall or ceiling before the appointment. Moving furniture provides space for ladders, drop cloths, and tools. In an office, this might involve relocating desks or equipment. Ceiling repairs sometimes require access across a broad section of the floor because debris falls beneath the work.
Access to running water is another consideration. Technicians will need water when mixing compound and cleaning tools. In occupied workplaces, the contact person should coordinate room access and notify employees about the work zone. Advance preparation limits avoidable delays once the professional arrives.
Inspecting the Drywall Damage
The technician begins by examining the damaged drywall and the surrounding surface. A shallow dent usually calls for less extensive work than a hole that exposes the wall cavity. Loose tape along a seam points toward a different repair than an impact fracture across the board. For water stains, the professional checks for softened gypsum or damaged paper that suggests the affected area extends beyond the visible mark.
Inspection helps establish whether the surface is stable enough to hold new compound. If moisture continues to enter through a pipe or roof, the property owner must arrange to address that source before the repair proceeds. In commercial spaces, the findings may influence when employees or tenants regain access to the area.
Protecting the Surrounding Area
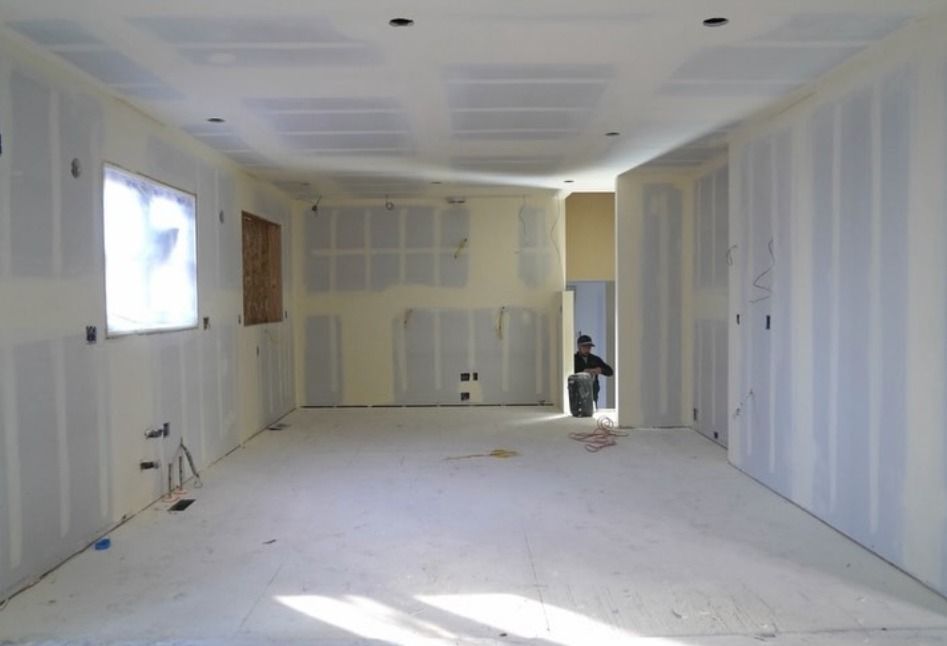
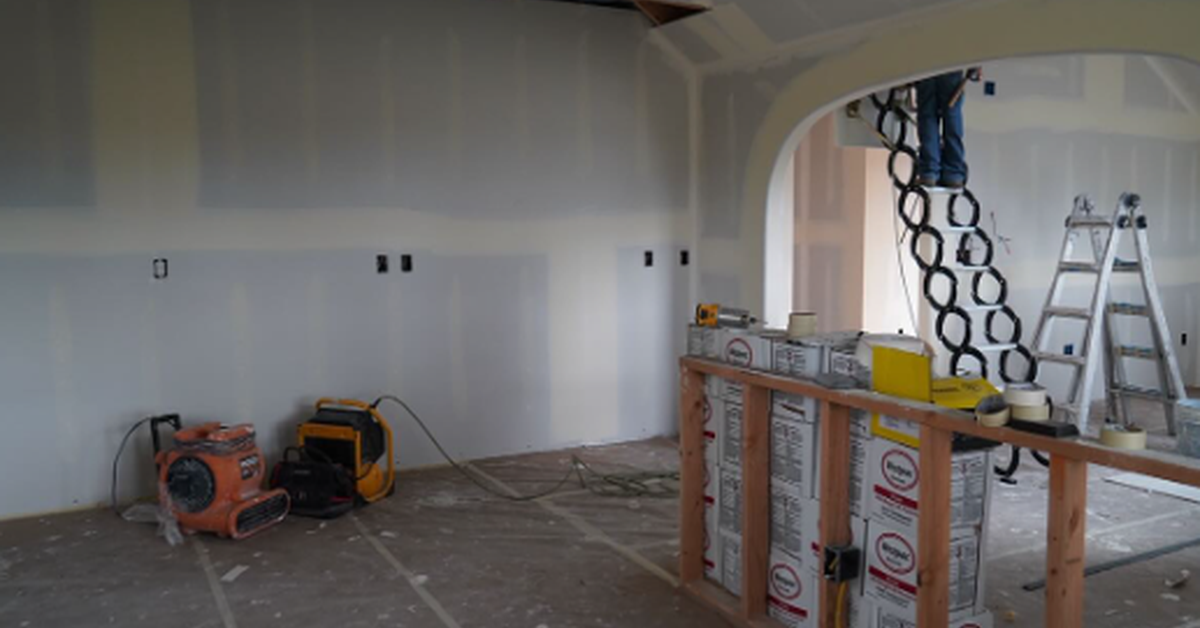
Sanding joint compound releases fine dust, so technicians typically prepare the work zone before opening the wall. They place drop cloths or floor protection beneath the repair and shield nearby furniture or office equipment when necessary. Near a doorway, temporary barriers can reduce the spread of dust into adjoining rooms.
These precautions help protect surrounding finishes without promising a completely dust-free process. Ceiling repairs present an additional challenge because debris falls directly beneath the work, even when the damaged area is small. Property owners should expect some temporary disruption, especially when the technician must cut away compromised board.

Removing Damaged Drywall
When drywall has lost its firmness or a hole has ragged edges, the technician may cut out the compromised material. Leaving crumbling gypsum or torn paper in place would prevent fresh compound from bonding to a stable surface. The size of the opening depends on the condition of the board, not simply the dimensions of the visible stain or dent.
Before cutting into a wall, the professional considers nearby electrical wiring and plumbing. If the cavity contains damp insulation or shows signs of an active leak, the technician may pause the repair until the underlying issue receives attention. Minor dents and stable hairline cracks generally don’t require removing an entire section of drywall.
Installing the Drywall Patch
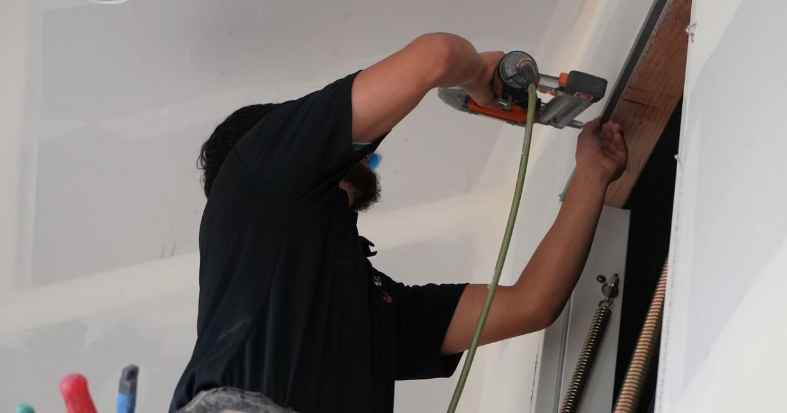
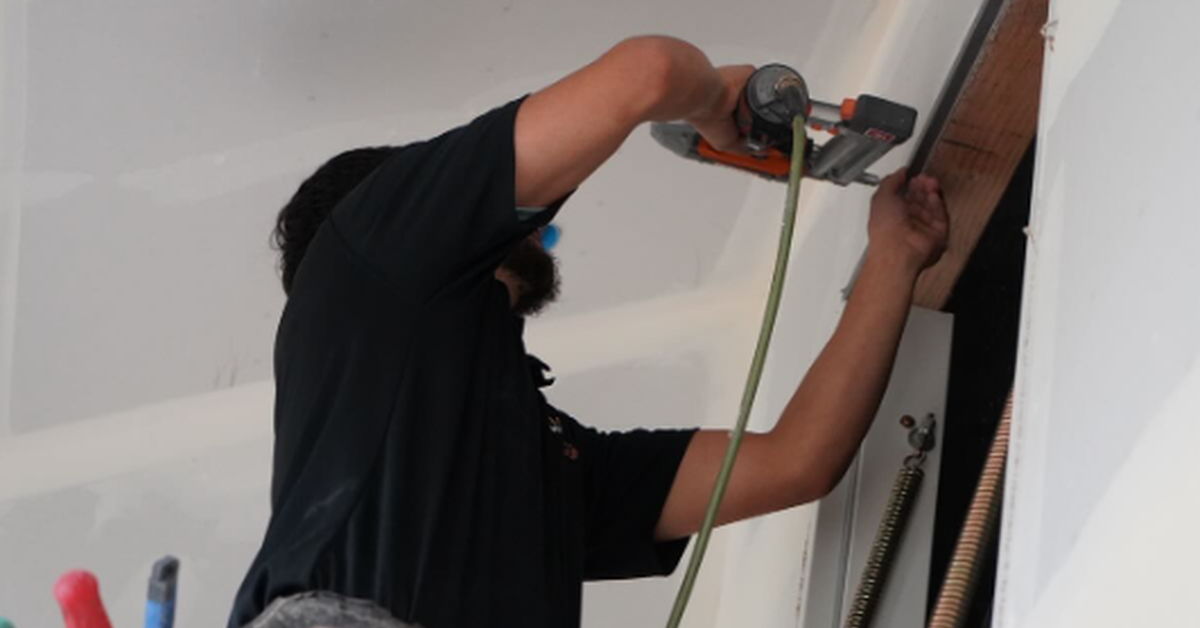
A hole that exposes the wall cavity usually requires replacement material to close the opening. Once the professional trims the damaged section to a stable perimeter, they fit a piece of drywall that matches the existing board’s thickness. Matching thickness limits raised edges that would remain visible beneath a coat of paint, particularly on flat office walls.
For patches that don’t reach a stud, a technician secures backing behind the opening to give the new piece a firm attachment point. The patch must sit flush with the surrounding wall before finishing compound goes on. Otherwise, extra layers of compound would have to compensate for an uneven foundation, increasing the chance of a visible repair.
Applying Joint Tape and Compound
With the patch in place, the technician covers its seams with joint tape and compound. Tape reinforces the junction between existing drywall and the replacement piece, reducing the chance of a crack tracing the repair’s outline. For failed joints, the professional may repair the original seam without installing a new board.
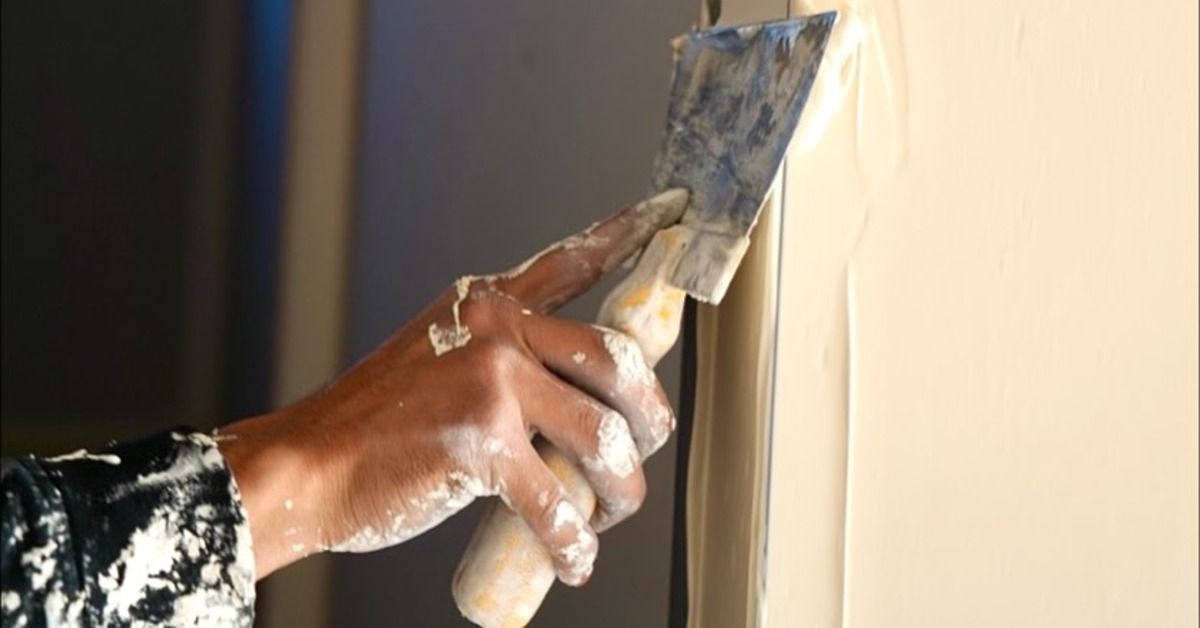
Joint compound fills small gaps and gradually blends the repaired area into the surrounding surface. Professionals taper successive coats beyond the seam, allowing each application time to set or dry. Depending on the compound and the depth of the repair, the work may require another appointment. It’s essential for the technicians to explain the schedule before leaving the property.
Sanding the Repaired Surface
Even careful compound application leaves subtle ridges at the edges of a patch. After the compound reaches the appropriate hardness, the technician sands the surface to remove those high spots and prepare it for finishing. Sanding is especially important on walls that receive direct daylight or strong overhead lighting because shadows reveal uneven transitions.
Rather than simply sanding the center of the repair, the professional checks how the new surface meets the existing wall. Pressing too aggressively could expose the tape or wear away compound that still contributes to the smooth transition. A visual inspection and light touch-up, when necessary, maintain the shape of the finished patch.

Matching the Existing Wall Texture
Texture matching aligns the repaired section with the surrounding wall. A technician studies the existing pattern and adjusts the material and application method accordingly. Orange peel requires a different finish approach from knockdown, and a smooth wall demands careful attention to the transition at the edge of the patch.
The professional might use a spray application for one surface and a hand tool for another, depending on the finish. The outcome is a seamless finish that makes the repair practically invisible.
Cleaning Up After the Repair
Before leaving, the team collects repair materials ranging from drywall scraps to tape offcuts. They remove temporary floor coverings and tidy the work area, although the surface might need time to dry. Dust from sanding might settle beyond the immediate patch, so the precise cleanup work depends on the agreed service.
At a home, cleanup may involve moving a drop cloth away from a hallway or living room. In an office, workers may need a clear route back to desks or meeting rooms after the repair. A brief conversation at the end of the appointment helps the property contact understand remaining drying time and any restrictions around touching the surface.
Schedule Professional Drywall Repair With Rival Drywall
Knowing what a professional drywall repair visit involves helps property owners schedule work with realistic expectations at home or in a commercial property. Repair scope and drying time vary with the condition of the wall, so early communication helps everyone understand the planned work.
Rival Drywall handles residential and commercial repairs in Colorado. Our team matches existing wall texture and maintains a tidy work area. To discuss damage and arrange service with an experienced drywall repair company, contact Rival Drywall to request a quote.